Getting started
This library works with elements represented as an array of HTML entities, and nodes that control the behavior of elements.
Elements is an array of objects. This array produces the code of elements you can use in your website.
Nodes is another array containing nodes that change the look and behavior of the generated elements.
Let's walk through the app creation process step-by-step. There is also interactive playground at the bottom of this page.
Installation
The fastest way to get started is to use the NodeJS. You can also use the library in a browser via CDN.
npm create nodality@latest my-app
After the tool creates the application, navigate to my-app directory using cd my-app. In the src directory you will find the app.js file. Let's go through it step-by-step.
Step 1
Define array of elements you want to display in your user interface. In this example, we will create an h1 element with "Hello" text.
let elements = [
    {
        type: "h1",
        text: "Hello"
    }
];
Step 2
Define array of nodes that will adjust behaviour of the element. This particular node will add the stroked text effect.
let nodes = [
    {
       op: "blast"
    }
];
Step 3
Add nodes array into .nodes modifier, and use .set method to render output of your code.
Use code: true option to also display the code of the elements.
new Des()
    .nodes(nodes)
    .add(elements)
    .set({
        mount: "#mount",
        code: true
    });
Also define div with id #mount that will serve as a main point to render the UI.
To compile (and recompile) the app after changes, run:
npm run build && npm start
Everything together
Here is the entire code using CDN:
<!--div for mounting the result-->
<div id="#mount"></div>

<script type="module">
import {Des} from "https://www.unpkg.com/nodality@1.0.0-beta.4/dist/index.esm.js";

let elements = [
    {
        type: "h1",
        text: "Hello"
    }
];


let nodes = [
    {
       op: "blast"
    }
];


new Des()
    .nodes(nodes)
    .add(elements)
    .set({
        mount: "#mount",
        code: true
    });
</script>
After running this code, you will see h1 element on the screen. When the user resizes window anf hits the breakpoint 400 - 600px the text stroke effect will appear thanks to stroke modifier.
User will also see the resulting code.
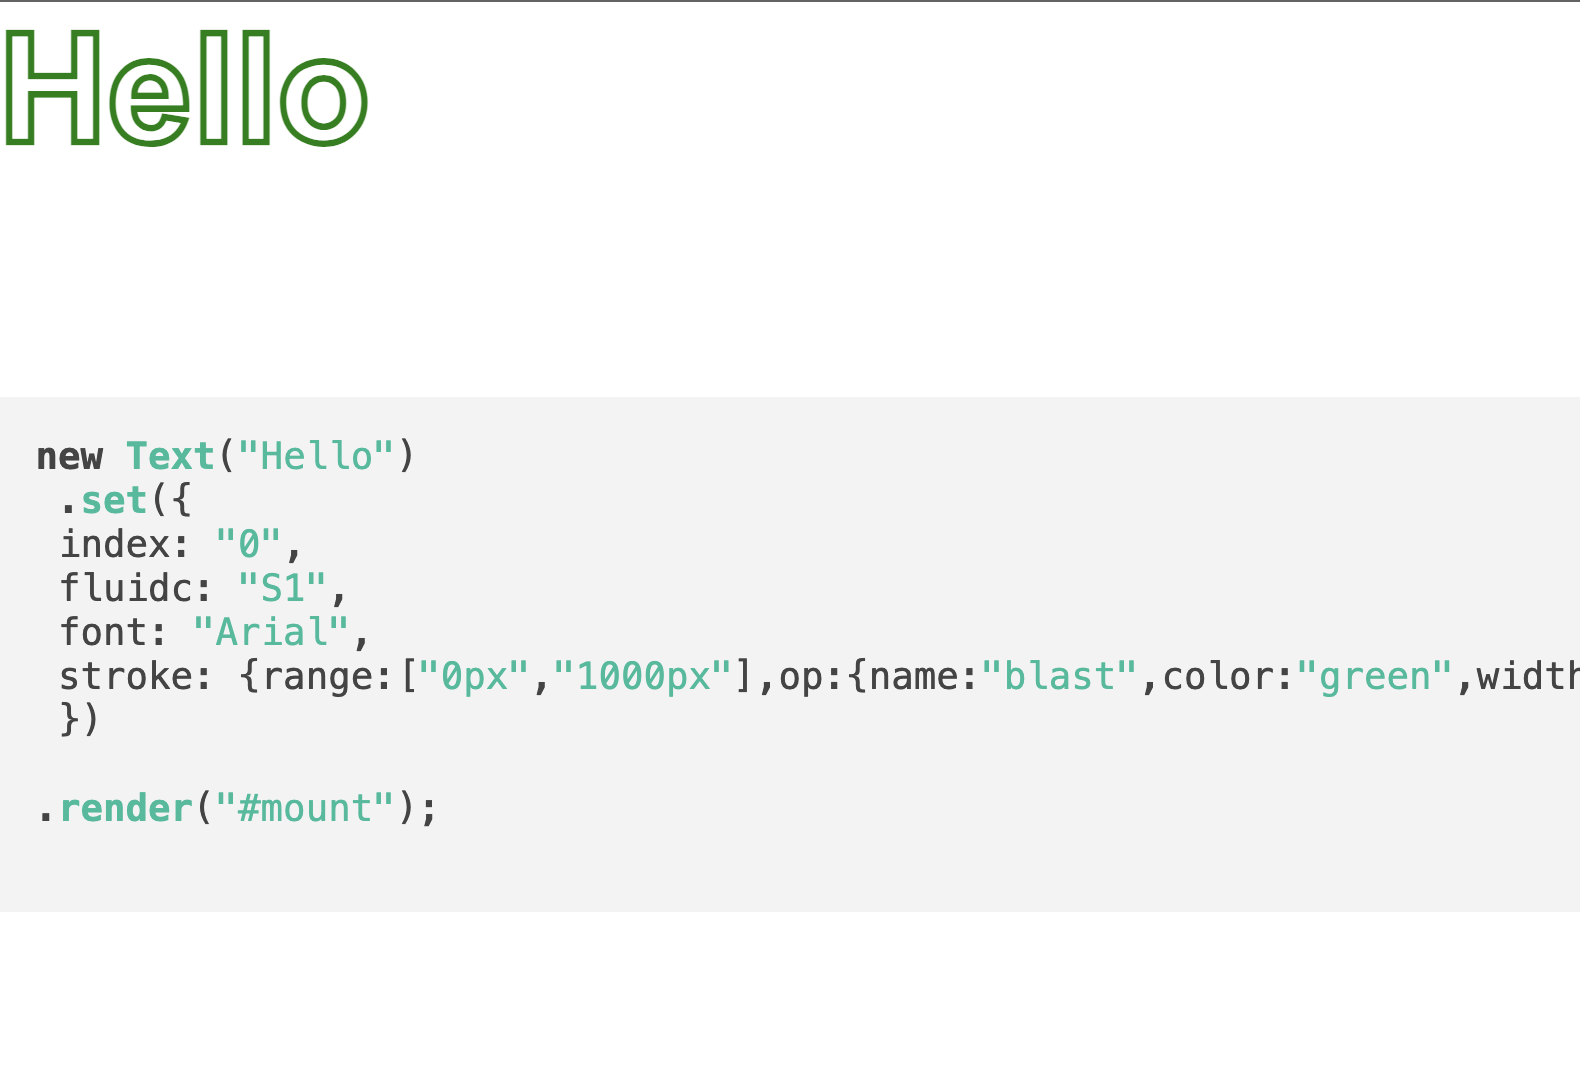
, new Text("Hello")
 .set({
 index: "0",
 fluidc: "S1",
 font: "Arial",
 stroke: {op:{name:"blast",color:"green",width:"1px"}},
 })

.render("#mount");
You can then render this generated element directly in new empty HTML file.
Use the render method, where #mount is a div element that will be used to render the Text class.
<!--div for mounting the result-->
<div id="mount"></div>

<script type="module">
import {Des} from "https://www.unpkg.com/nodality@1.0.13/dist/index.esm.js";

new Text("Hello")
 .set({
 index: "0",
 fluidc: "S1",
 font: "Arial",
 stroke: {op:{name:"blast",color:"green",width:"1px"}},
 })
.render("#mount");
</script>
See the demo below: